About Us
Advertise
Contact Us
Submit a Press Release
Facebook
Instagram
Pinterest
Home
Arts
Creators
Design
Fashion
Film
Literature
Performing Arts
Photography
Visual Arts
Lifestyle
Comedy
Outdoors
Pets
Food & Drink
Recipes
Music
Country
Electronic
Folk
Funk / Soul / RnB
Hip Hop
Indie
Jazz
Pop Music
Punk
Rock
Travel
Calgary Tourism
Alberta Travel
The City
Charity
Community
Local Business
History
Recent News
[ May 30, 2026 ]
Bowie the cat needs a new home in the Calgary area
Lifestyle
[ May 29, 2026 ]
Vertigo Theatre Saves its Best for Last with The Verdict
Arts
[ May 29, 2026 ]
Five Minutes With: Alt-Rock Band Morning Coyote
Music
[ May 28, 2026 ]
Tragedy Plus Time: Comedian Les Fox
Comedy
[ May 27, 2026 ]
“A Day in the Life” with: Visual Artist Mascha Hellenbrand
Arts
Home
Media
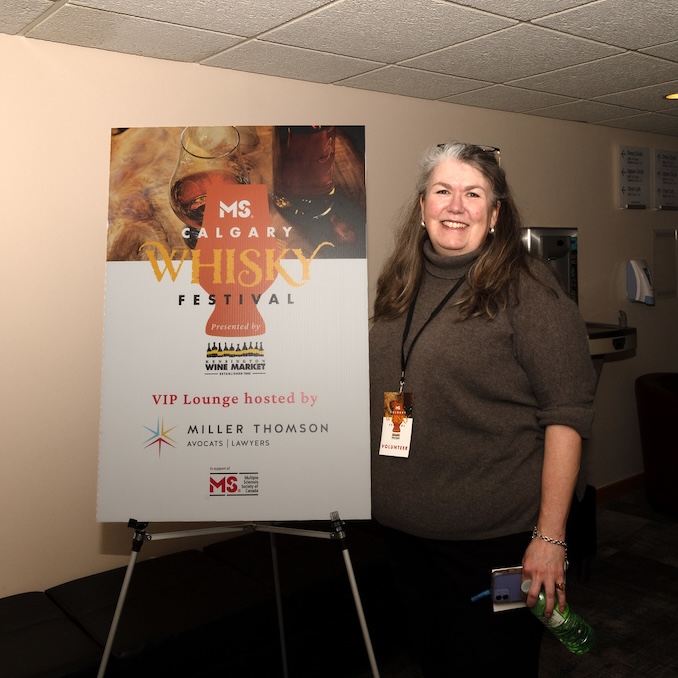
Photo Credit Sandra Overman Photography
Photo Credit Sandra Overman Photography
Photo Credit: Sandra Overman Photography
Next
Copyright © 2026 | Fistle Media Inc.